 amazon Deals


Price: $23.99 - $21.99
(as of Apr 25, 2024 19:33:39 UTC – Details)

Product Description


How to Connect?
Step 1: Turn on the console,
Step 2: Go to System Setting – Aliplane Mode – Controller Connection, click ‘On’
Step 3: Go to ‘Controllers’ setting – Click ‘Change Grip/Order’
Step 4: Press and hold down the top button of the controller until the LED light flash. Once paired, the player LED(s) corresponding to the controller number will remain lit.


FAQs:
1. How to Set Vibration Intensity.
The 5 levels of vibration intensity allow you to adjust the shockwave experience for more realistic video gaming, you can manually turn on or off the controller motor vibration via the console.
Adjust the motor intensity:
The Button above the MR.ML
Left : Increases the vibration amplitude
Right : decreases the vibration amplitude
100% strength→75% strength→50% strength→25% strength→0% strength
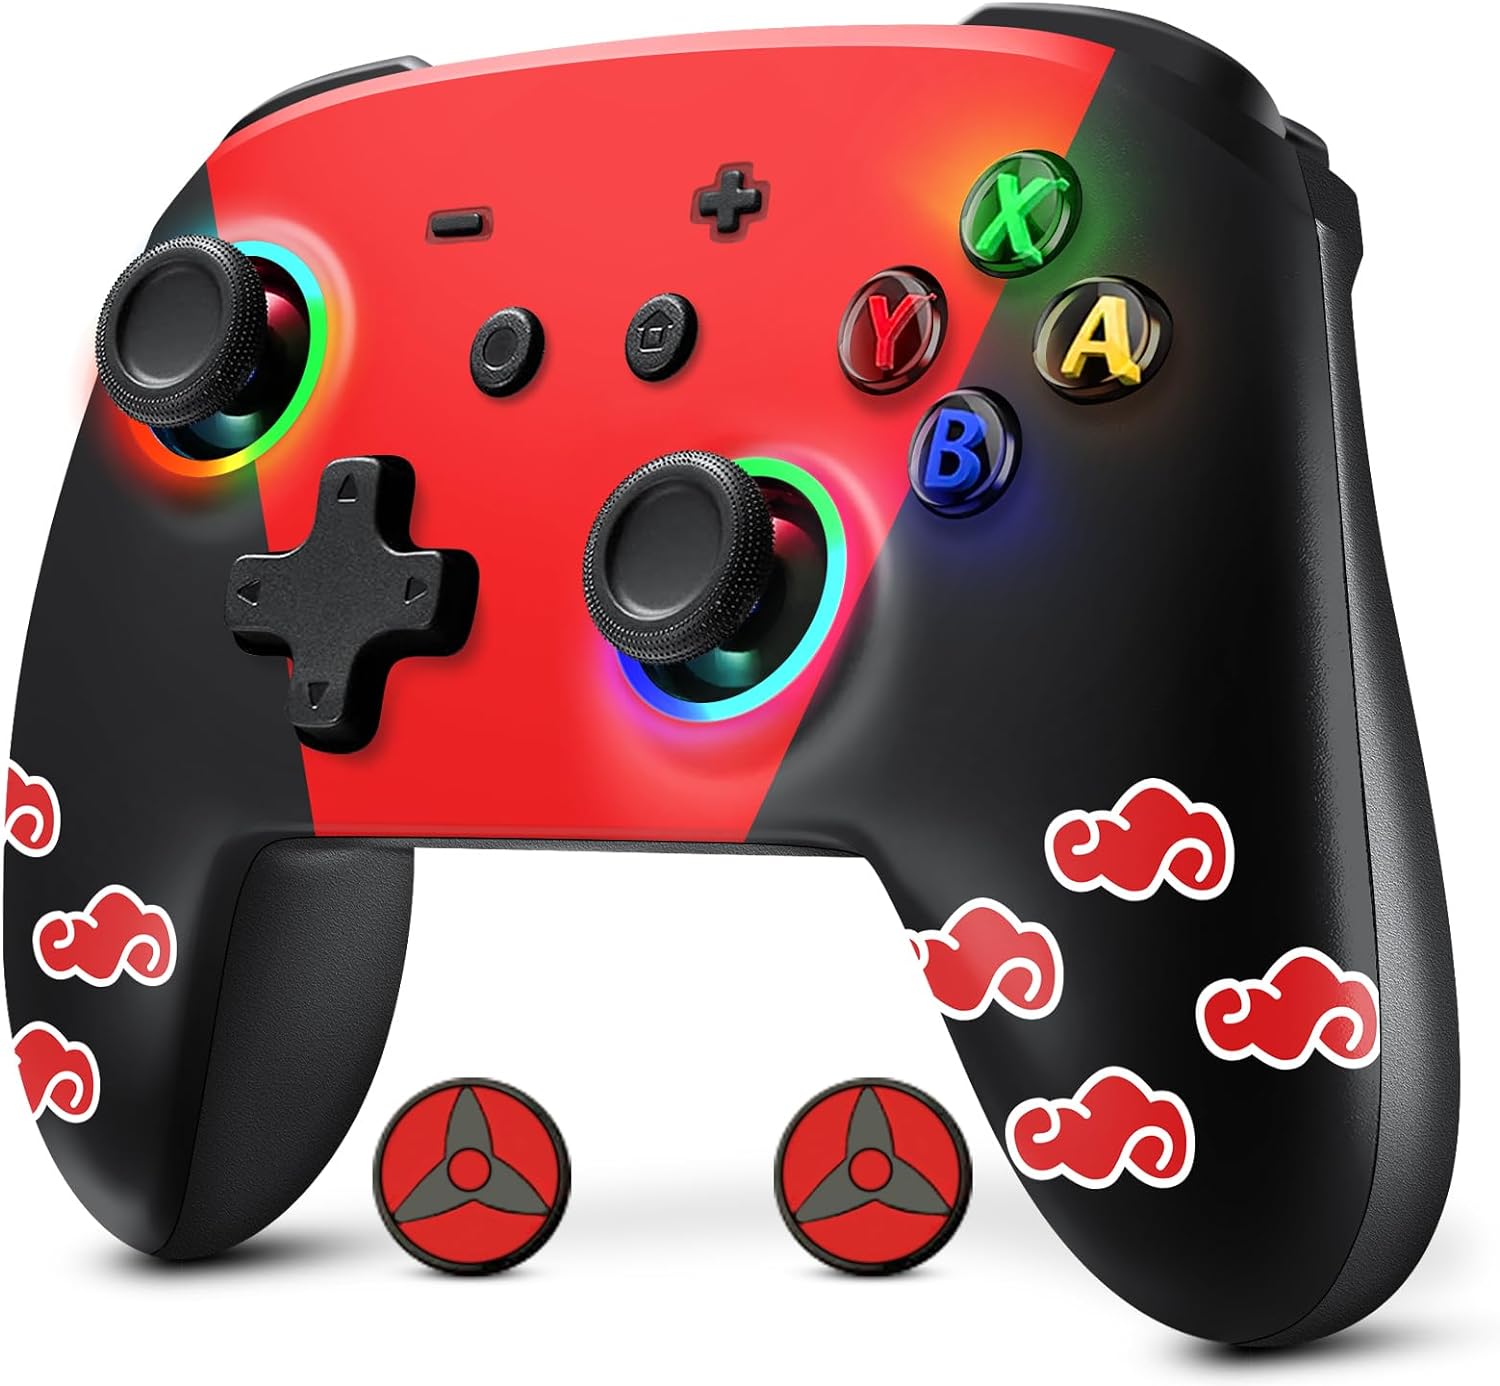
2.How to set Led Lights.
Turbo key + L3 click: monochromatic always bright Change order: red, orange, yellow,green, cyan, blue, purple, pink, (phantom). cyclic transformation
Turbo key + L3 double click (first time): Colorful breathing The overall lighting color changes automatically according to red, orange, yellow, green, cyan, blue, purple and pink.
Turbo key + L3 double-click (second time): Symphony breathing mode
Turbo key + L3 double-click (the third time): turn off the light
Press and hold (Turbo key + L3) at the same time: adjust the brightness in 4 levels. 25%,50%,75%,100%
Turbo key + R3: ABXY decorative lights A (Yellow) B (blue) X (green) Y (red) There are three states: always on, breathing, and off. By pressing the Turbo key+ R3 at the same time, it can be switched cyclically, with a memory function.
Support Keylinker APP, support APP to change keys, adjust motor strength, adjust RGB lighting and other functions.
3. How to Set Back Button Function.
1). single key setting:(1)press and hold Mr (setting key) +A (lick)(2)set the successful vibration prompt(3)the X-ray back key is set to A.
Macro key setting:(1)press and hold MR (setting key) + continuous action;(2)set the successful vibration prompt;(3)set the XR back key as macro.
2). Single key setting:(1)press and hold ML(setting key) + A (click); (2)set successful vibration prompt;(3)Set XL back key to A.
Macro key setting:(1)press and hold ML (setting key) + continuous action;(2)set successful vibration prompt;(3)Set XL back key as macro.
4.How to Set Turbo Function.
1). Manual continuous firing: Press (the first time)a/B1X1Y/L1/L2/R1/r2/ cross key +turbo key to set continuous firing function.
2). Clear the continuous sending: press turbo again (the second time) to realize the auto turbo function; Press and hold turbo key for 5 seconds to clear all consecutive functions.
3). Press and hold turbo key + a key first to clear turbo function of current a key.
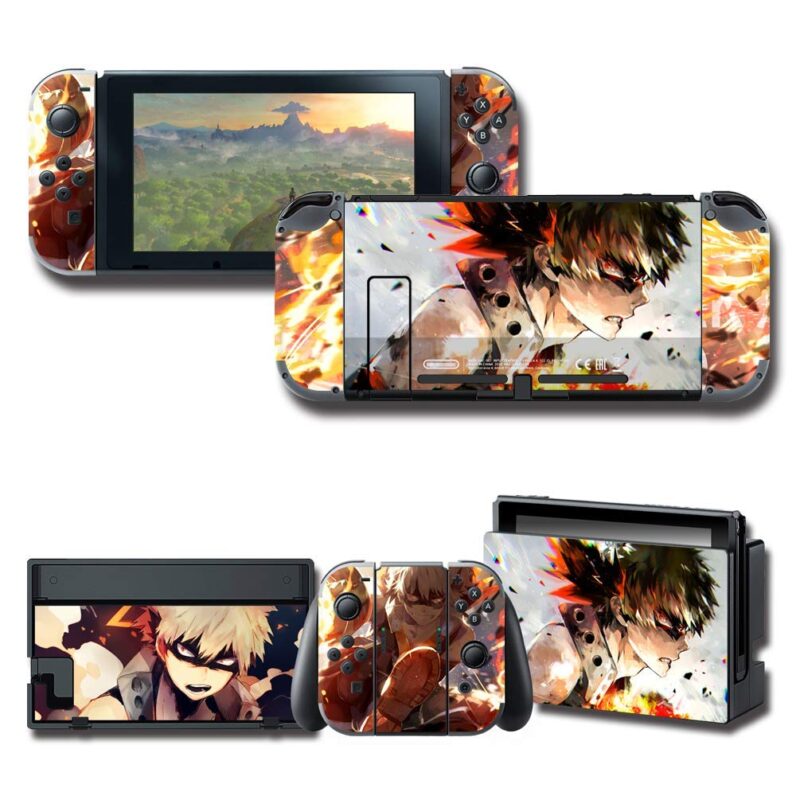
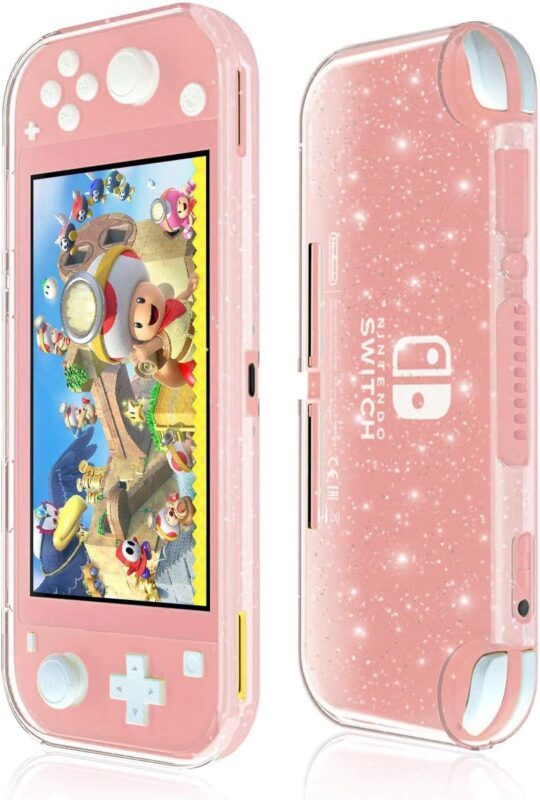
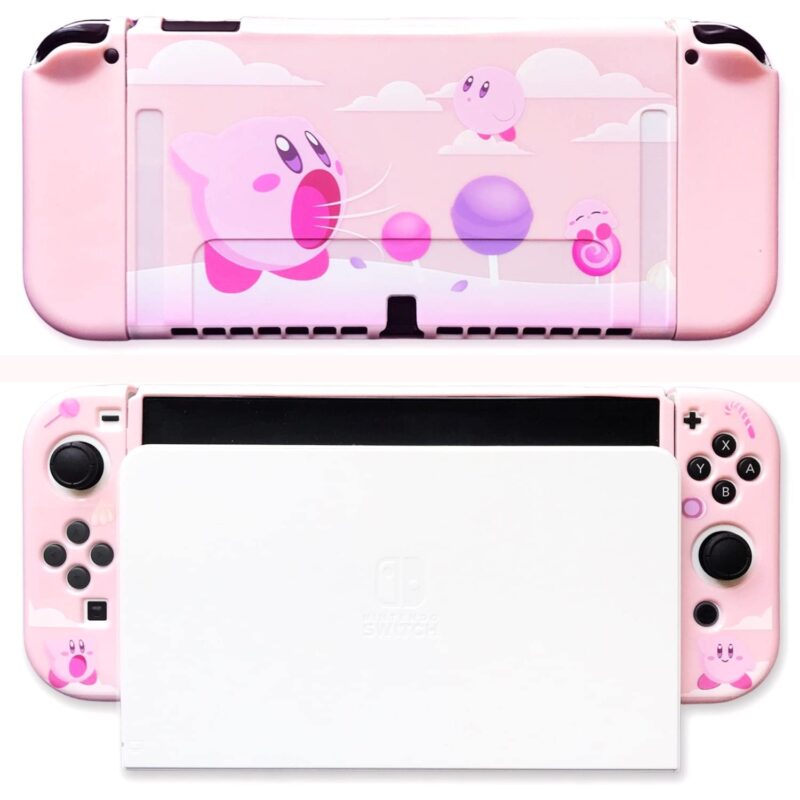
Compatible with Nintendo Switch: Works with Switch, Switch Lite, and Switch OLED models
Adjustable Vibration: 5 adjustable vibration intensity levels for customizable feedback
Wireless Control: 6-axis motion and turbo functions controlled wirelessly
Back Button: Dedicated back button for quick navigation
Multicolor RGB Lighting: Built-in colorful LEDs light up for visual effect